
Logitech H800 headset upgrade
The Logitech H800 headphones have been around for a while. They are not anything magical but to be honest, they have been convenient and I have been still using them all these years. The only few issues that it has is the range of the USB dongle and the battery life. While the range can be somewhat increased using its Bluetooth functionality, the lifetime of the battery leaves more to be expected. Beyond that wear and tear on the earcups invites them to be replaced. So this is mainly what we are doing in this post. Replacing the battery and not just replacing the earcups but also modding them for a more comfortable fit.
The modification
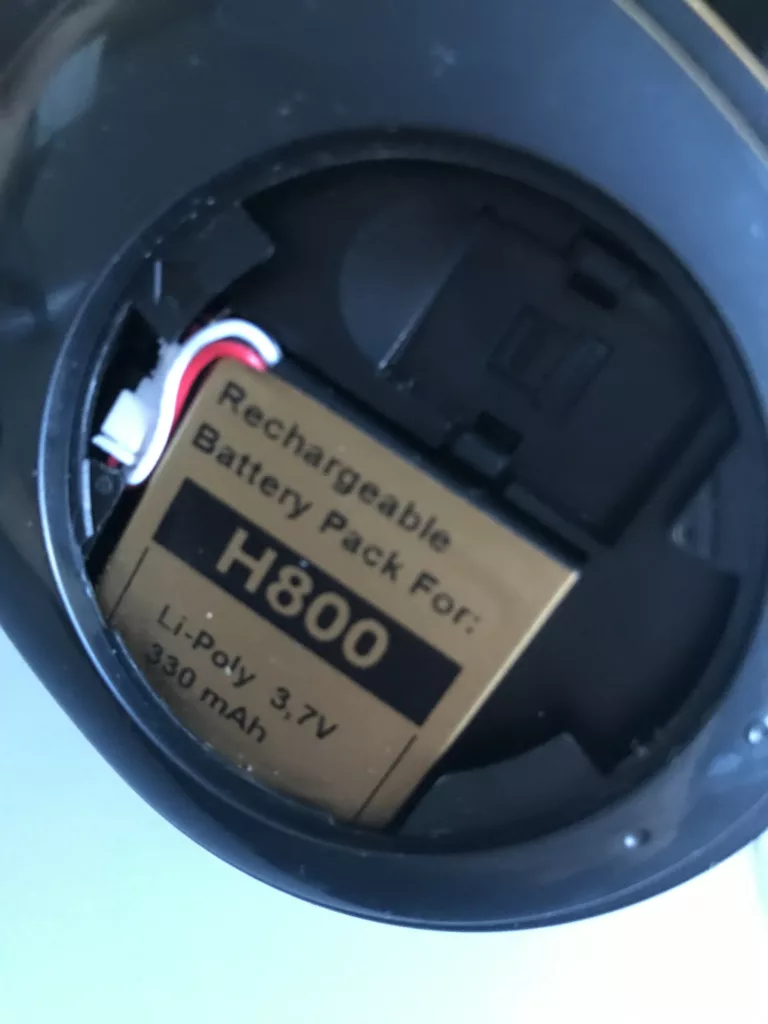
Let’s start with the easy one. Replacing the battery is simple by just removing the cover of the earcup that can house the USB dongle. Following the Ifixit guide is a breeze to do.
https://www.ifixit.com/Guide/Logitech+H800+Wireless+Headset+Battery+Replacement/145756
Unplug the battery cable and place the new battery in. Now I did not go for an original specification one instead I tried getting one with more capacity. The original one comes at 265mah while the one I found boasts a 330mah capacity. Not a marginal increase but when testing it did extend it to the point where I was not required to charge it daily anymore. However, if you want to go a bit more crazy. There is a guide for upgrading the battery using one from an iPod that has a whopping 850mah. Although it requires modifying the internal housing to accommodate it.
You can check out the guide here:

So the battery I got was from Aliexpress:
https://www.aliexpress.com/item/1005002971199659.html
As usual, the photos rarely match what you get but it lists at 320mah the one I received is written 330mah so take it with a grain of salt. But the lifetime of the battery is noticeably better.
That’s it for the batter since it’s plug’n’play nothing else is left to do here.
Now for a little bit more hands-on mod regarding the earcups. This will require some 3D-printed parts and additional earcups from a different headset.
There are a few ways to go about this. One would be to do it the same way
https://www.thingiverse.com/thing:4684345
Printing the adaptors and purchasing these
https://www.amazon.de/-/en/gp/product/B0799Q9GZF
This will work either way although the author of the adaptors mentioned that he glues the parts to the headphones which I personally dislike as it means it’s either gonna be a pain in the ass to remove if I don’t want to use them anymore or I will break something by trying to do that.
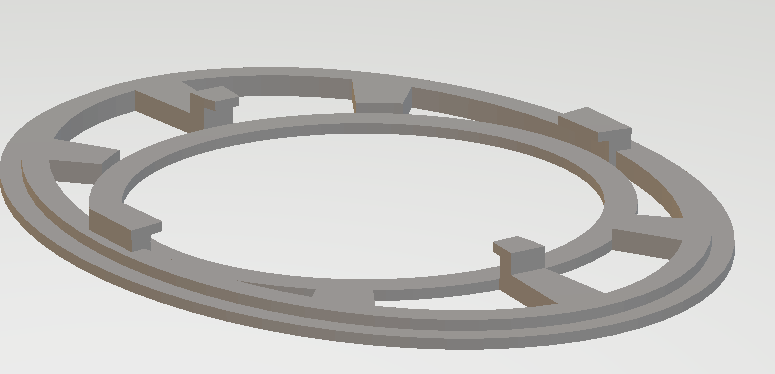
My way is to modify the adaptors to have little clips that would just snap on the earcup of the headphones. The difference is that now they are removable the only drawback perhaps is that they now freely rotate around which you can consider as a positive or a negative. It’s for you to choose.
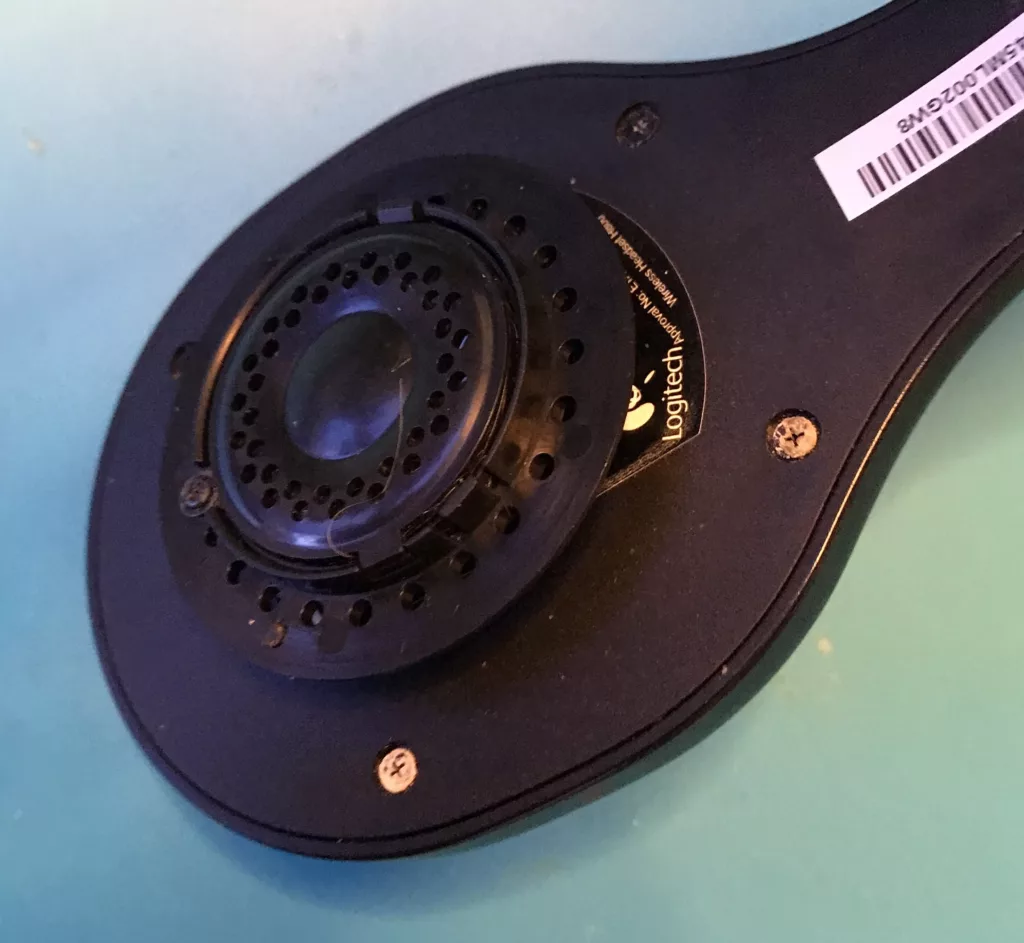
Let’s start by removing the old earcups as they simply just slide off around the cup. Now you are left with the bare headset.
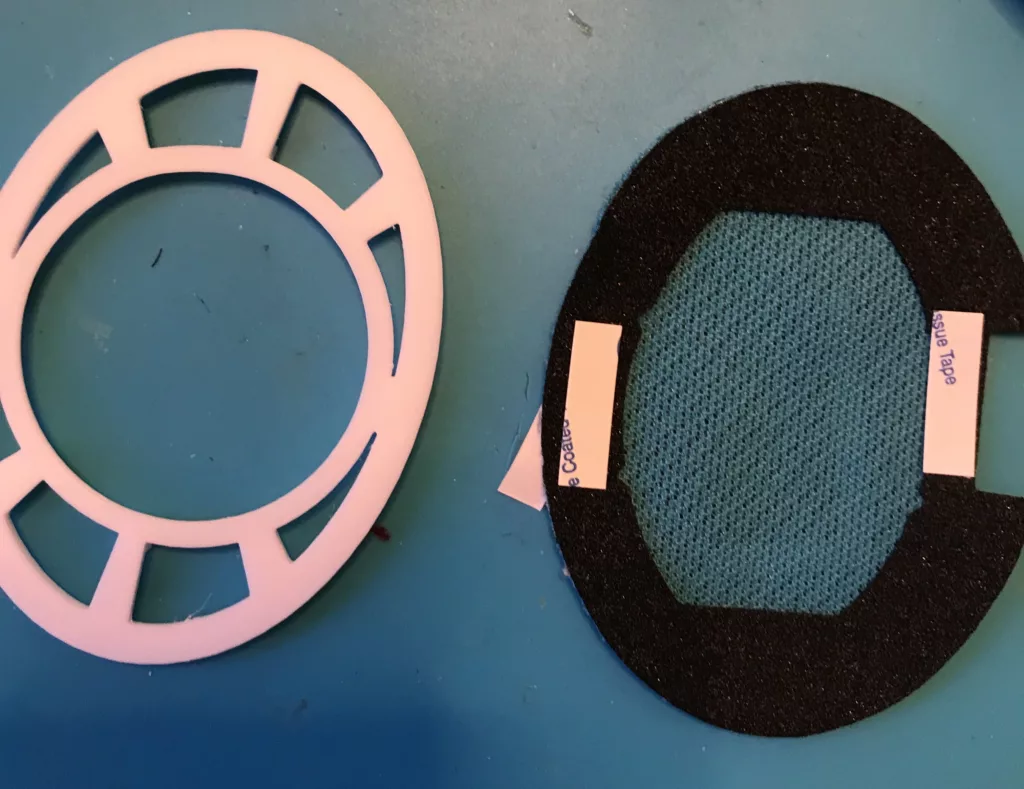
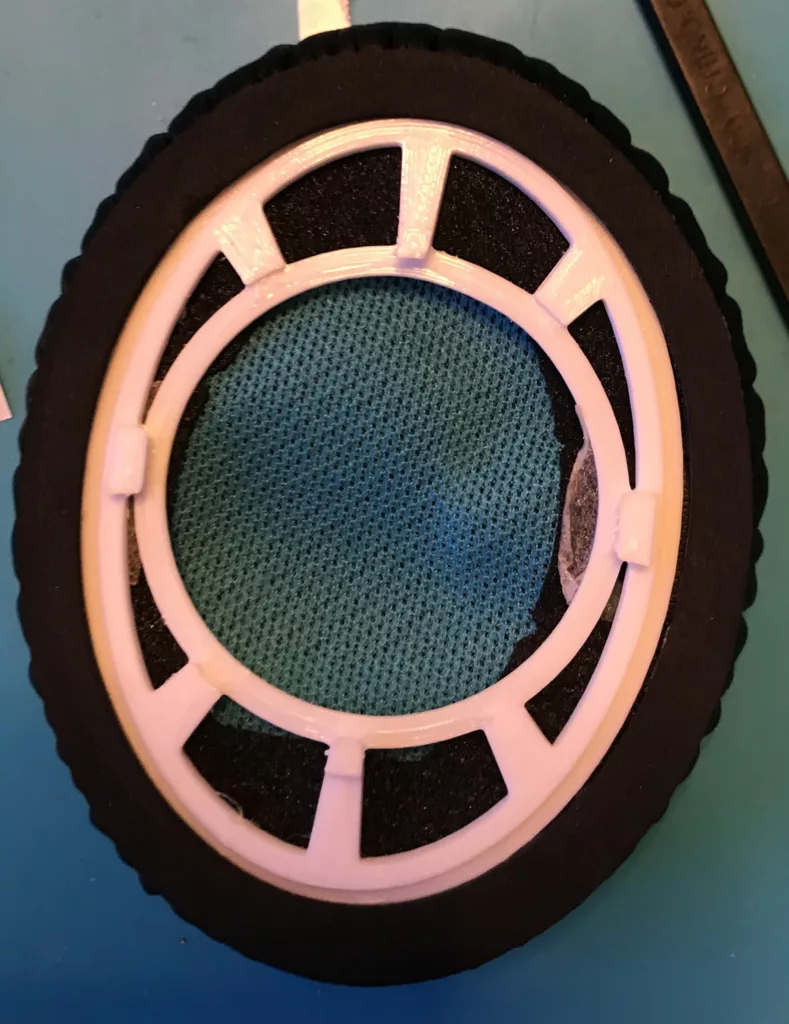
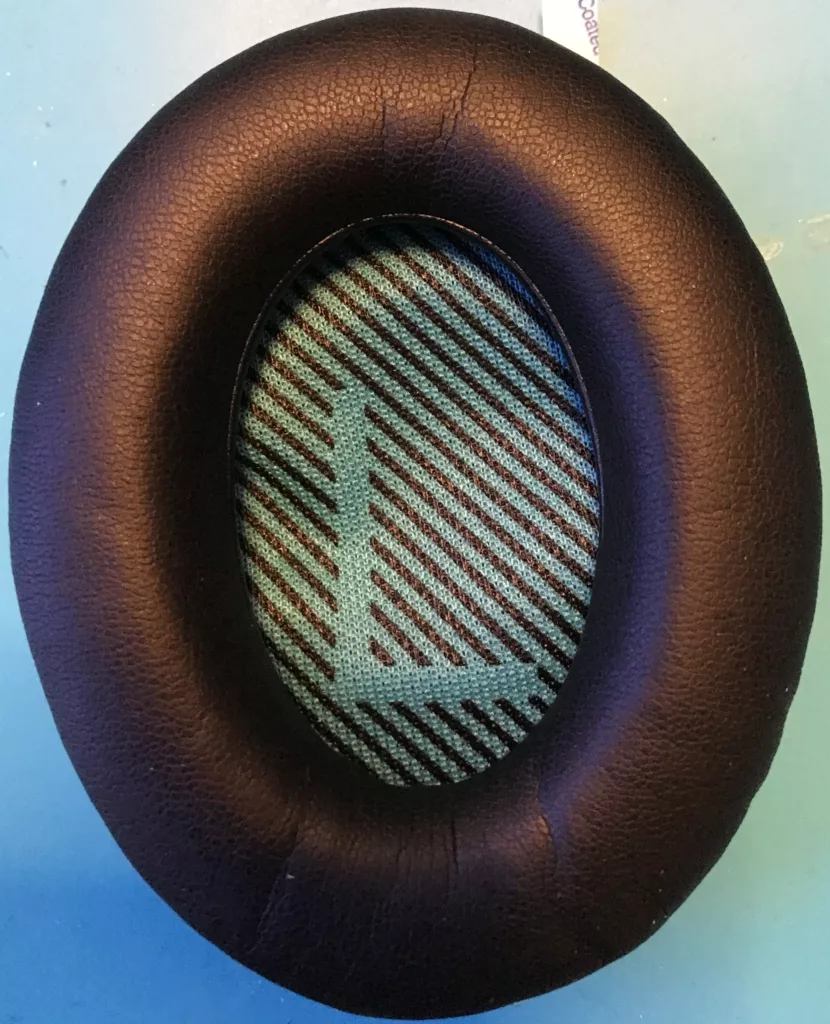
Now we can prepare the new headphone cups and adaptors for placement. Now the adaptor author seems to not use the inner fabric with the L/R letters and leaves it bare. Depending on your ear size/shape you may touch the inner plastic parts when using it so I instead add the covers inside anyway since they are just held by double-sided tape and seem to look nicer anyway.
You can get my version of the modified adaptor here:
As always a virus total report can be found here:
https://www.virustotal.com/gui/file/0367e439959f7c479524ba38ae7167ad2b049780af6b9e077d0f92486e605656?nocache=1
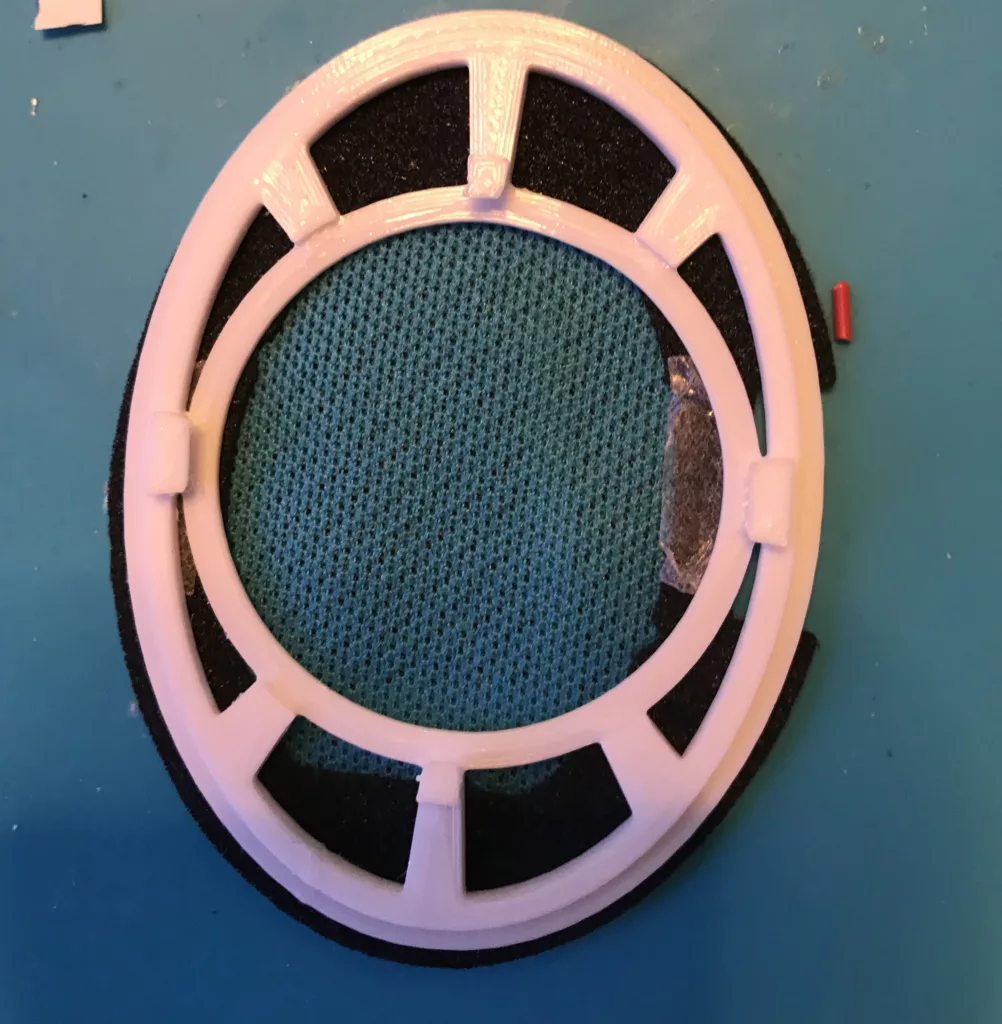
I personally printed using PETG plastic for extra strength. Once the inner material and adaptor are together we can add the rest of the ear pad on top. There are grooves around the pad that the adaptor just slides into as you place it around.
Depending if you printed the original adaptor from the author you will have to glue it to the headset as there is nothing else to hold it. If you printed my version then you will just snap it on. It will take a little bit of bending of the adaptor for the clips to go over and sit tight. But once it is in it’s not coming off as much as you shake it.

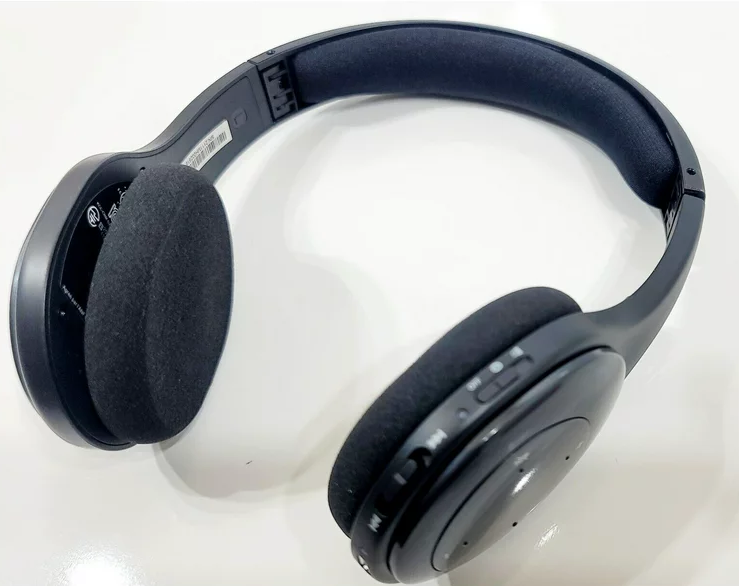
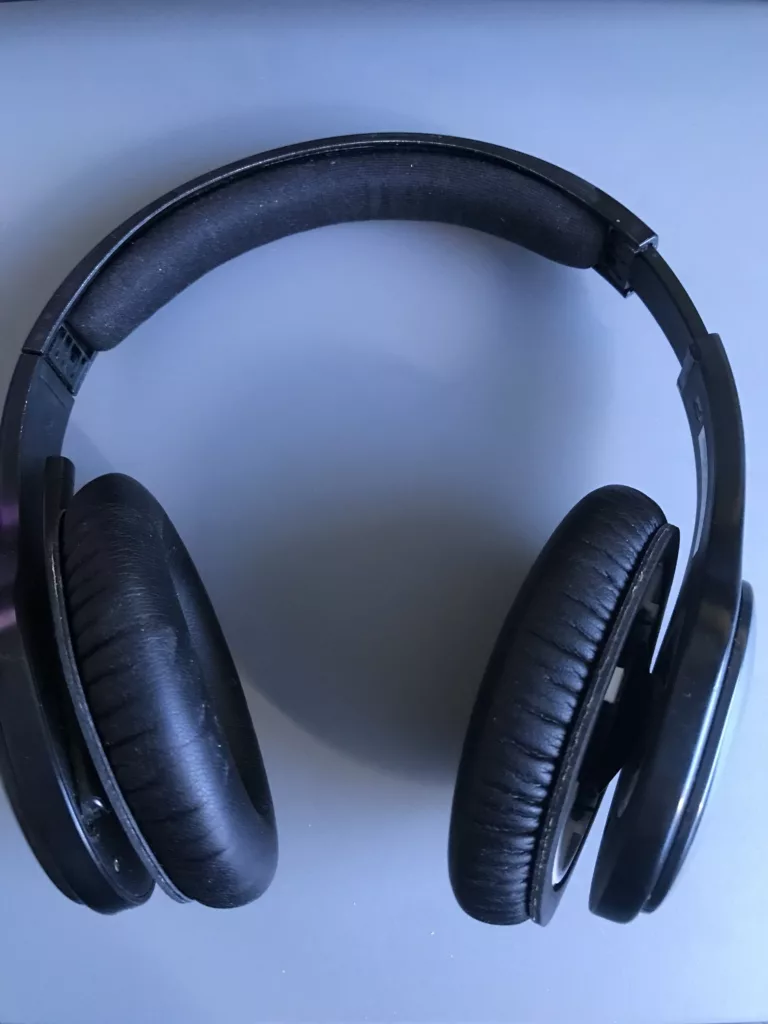
After snapping them on you are done and can now use headphones over the ear instead of on the ear ones. Personally, I much prefer this type because the original used to cause some ear pain while pressing on the ears when used for a long period. This at least solves that issue for me and this is much more comfortable.
Here are some shots of the difference:
Conclusion
There you have it if you went through with using my version of the adaptor then if you are not satisfied with the mod it is easy to go back by just removing them. The headset can still fold up as usual with a little bit of squeezing of the leather pads. Overall personally this is an improvement in comfort and doesn’t require a huge investment.
As always I hope this has helped you out.


Recent Comments