
Making a USB printer available on your network
If you are like me who has old tech around that works but is not being used due to it being more cumbersome than actually having benefits this might be an option for you. I have an old HP Photosmart C4280 model ink printer. I have had it since I was in school and the thing is it works. The problem is that it’s an ink printer and that it only works via USB so it will only work on the computer connected unless I share it but then I have to keep the PC on to do that. Annoying basically.
The solution
Use a Raspberry Pi as a tiny server for the printer to make it available to your network. So you can print from any device like your phone, PC, or tablet. You can of course use any other Linux-based device it should be basically the same or similar.
For now, we need a USB-based printer and a Raspberry Pi. I will be using the Model 3 B. I had already one connected to my 3D printer which was near the HP printer so I just plugged my printer into that which is running Octopi but it will be the same as running standard Buster.
Logging into the Raspberry Pi we will install CUPS.
sudo apt update && sudo apt upgrade
sudo apt-get install cups
Press Y on the prompt and let it install. It might take a while. Once finished we need to add our user to the lpadmin group.
sudo usermod -a -G lpadmin pisudo nano /etc/cups/cupsd.confThis command adds the user pi to the lpadmin group. Now we have some configuration to do before we start using CUPS. Let's open up the cupsd.conf file with an editor.
Listen localhost:631
Replace it with
Port 631
We will use the 631 Port and access it via the network. Add this under the comment:
# Show shared printers on the local network.
BrowseAddress @LOCAL
This will broadcast the printer on your local network.
Then we go lower and find these lines and in each of them add “Allow @Local”
# Restrict access to the server ...
<Location />
Order allow, deny
Allow @LOCAL
</ Location>


# Restrict access to the admin pages ...
<Location / admin>
Order allow, deny
Allow @LOCAL
</ Location>


# Restrict access to configuration files ...
<Location / admin / conf>
AuthType Default
Require user @SYSTEM
Order allow, deny
Allow @LOCAL
</ Location>
That’s it for the configuration we can save and close with CTRL + O, Return(Enter), and CTRL + X.
Now we need to restart CUPS
sudo service cups restart
The changes for CUPS are now done we can continue with the printer configuration. We now need to install the printer driver. This is very specific depending on your model by installation. For HP we use hplip, for Samsung splix or Brother printer-driver-brlaser, etc. Check the https://www.openprinting.org/printers website for your make and model to find the necessary drivers.
In my case it’s HP so we install it like this:
sudo apt-get install hplip
We will need to restart CUPS again to register the new drivers.
sudo service cups restart
Web-based setup
So now we should be able to access the CUPS GUI via our browser. So go to your Raspberry Pi’s IP with port 631. Example like this.
https://192.168.0.185:631
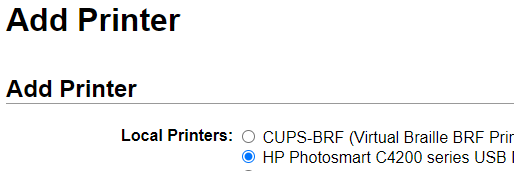
You will see the default CUPS homepage. Go to Administration and Add Printer

You will be prompted for a username and password. So type in the user pi and its password. As that was the user we added it as lpadmin. Log in and you should be presented with a list of printers. If everything went well configuration you should see your printer in the list.
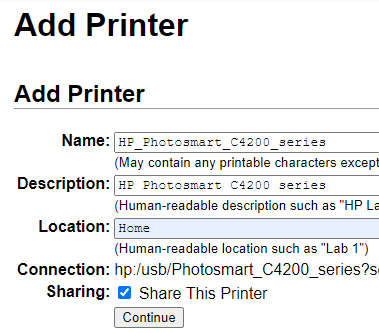
Once selected on the next screen you will be able to add the name, description, and location of the printer. The important thing is to tick the Share this Printer box. So that you can print from other devices
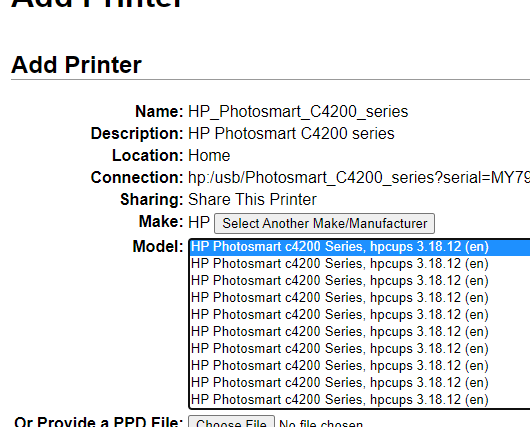
So CUPS does not pick the right printer driver but presents a list so pick the one that is your printer.
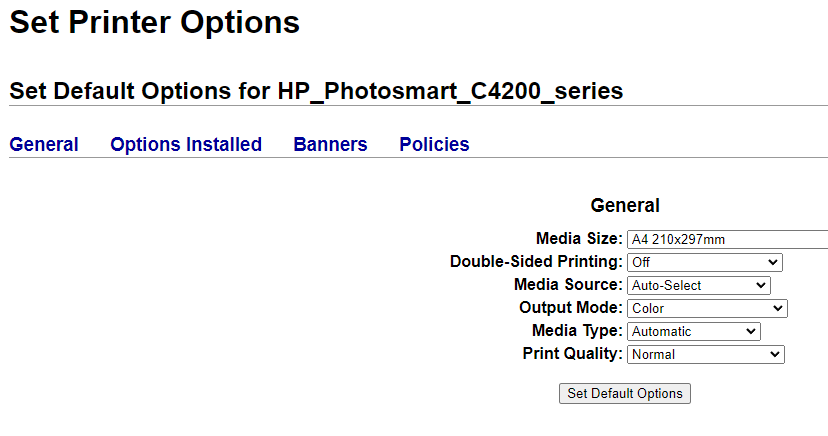
The last part will be setting the default options so set them accordingly as you need.
If we go into Windows Devices and Printers and Add a printer. We should already see this and can add it to our PC.
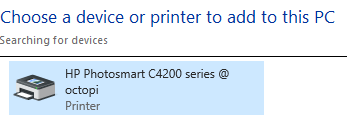
That’s it you can print a test page and watch it come out!
That’s not all!
So we got it to print. But it has a flatbed scanner. What if we want to use that too? It is possible. Though support for this is way more limited, HP printers usually work but you can test on others and see what results you get. Let’s do that now.
First, we need to install SANE
sudo apt install saneOnce done let’s try to find our scanner
sudo sane-find-scanner -q
You should get a result like:
found USB scanner (vendor=0x03f0 [HP]....
If nothing is found try rebooting your printer, changing the USB port, or rebooting the Pi itself.
Once it is detected we can use the scanimage tool to see supported devices
sudo scanimage -L
You should get a result like:
device `hpaio:/usb/Photosmart_C4200_series?....
If you don’t get a printer model detected you may be out of luck and your device is not compatible. Although if you have a result then we can try scanning with this command to see if it works.
sudo scanimage > testpage.jpg --format jpeg --resolution=150 -pYou will hear your scanner start-up and scan. It will save a file testpage.jpg in your working directory from which you launched the scan.
We now have a working scanner inside the Rasberry Pi. Now we need to set up the SANED service to act as a scanner server.
Let’s create a new socket file in systemd to port 6566
sudo nano /etc/systemd/system/saned.socket
In the files add the lines:
[Unit]
Description=saned incoming socket

[Socket]
ListenStream=6566
Accept=yes
MaxConnections=1

[Install]
WantedBy=sockets.target
With this, we listen on port 6566 and accept the connection. Keeping the max connection to 1 at a time. Save and close with CTRL + O, Return(Enter), CTRL + X.
So a socket file must have a service file. The service will let the system know how to run SANE.
Start editing the file
sudo nano /etc/systemd/system/@saned.service
Add the following configuration
[Unit]
Description=Scanner Service
Requires=saned.socket

[Service]
ExecStart=/usr/local/sbin/saned
User=saned
Group=saned
StandardInput=null
StandardOutput=syslog
StandardError=syslog
Environment=SANE_CONFIG_DIR=/etc/sane.d
Save and close with CTRL + O, Return(Enter), CTRL + X. We provide the service information on what user and group will be used as well as where to output syslog for our logs.
Now we need to configure the SANE daemon for remote access. Edit the file
sudo nano /etc/sane.d/saned.conf
To search use CTRL + W. Fin the line ## Access list. Add the local subnet of your network below it.
## Access list
192.168.0.0/24
Save and close with CTRL + O, Return(Enter), CTRL + X.
We should have everything configured and can start the Sane service. Let’s enable it first
#Enable it
sudo systemctl enable saned.socket
#Start it
sudo systemctl start saned.socket
#Check it's status
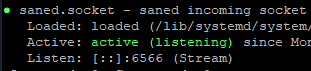
systemctl status saned.socket
If everything is correct you should see it running and Active (listening)
That’s it you can now try to scan something. But how do we add a scanner to our PC? As it doesn’t seem to appear in any device manager or can be added that easily. This is a bit more tricky but not hard to do.
Preparing PC for scanning
So the simplest software for scanning I have found is NAPS2 (Not Another PDF Scanner) the good about it is that even with a flatbed you can scan multiple files one after another and they can immediately be stored as a single PDF document. Also has support for many different drivers.
You can get NAPS2 here: https://www.naps2.com/
You can probably use your preferred software but for this tutorial, I will go with this.
Now you can either use a TWAIN driver or a WIA driver. I prefer the WIA driver due to its compatibility and I’ve had issues with using TWAIN as the scanner just sometimes is not detected. But your experience could differ. To use TWAIN get SaneWinDS https://sourceforge.net/projects/sanewinds/
If you want to use WIA then get wiasane https://github.com/mback2k/wiasane
This and more can be found on the SANE Frontends page here:
http://www.sane-project.org/sane-frontends.html
Since I am using wiasane. Download the .exe file install it and it will launch a simple setup utility.
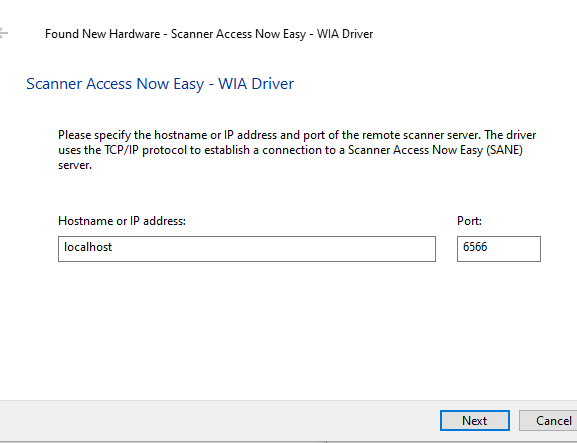
Enter the Raspberry Pi address where we set up SANE. Once it connects it will ask to choose a device and provide credentials. I used my Pi user credentials for this one.
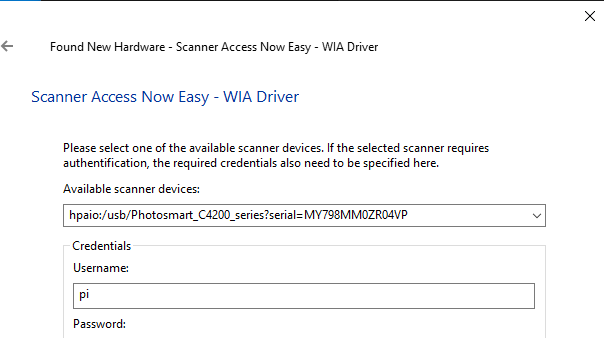
Once done you will be greeted with a successful setup message and can finish up.
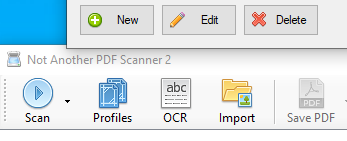
The last thing to do. Open NAPS2. Go to Profiles and press New.
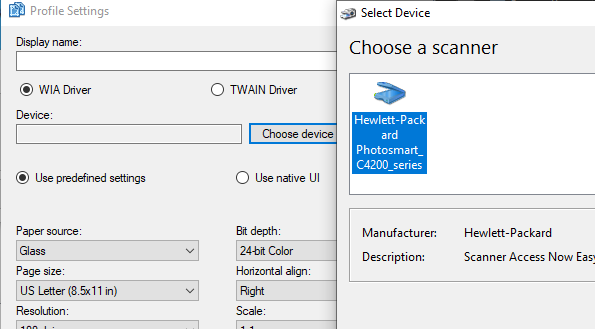
Be sure that the WIA Driver is selected and click Choose device. Select your printer. Hit OK. Adjust any of the scanner settings to your preferences like page size, resolution, etc.
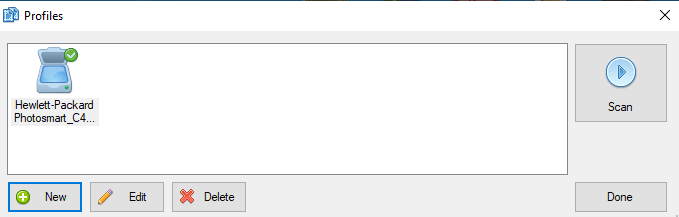
Click ok. You should be back in the Profile menu and your scanner is now added. Click the Scan button to start Scanning! Finally!
You should hear your scanner start preparing and scanning. Once done a document will appear in the NAPS window.
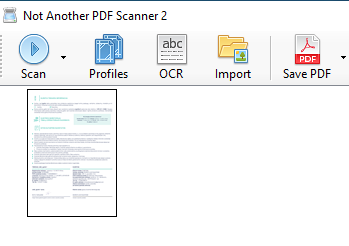
That’s it with the NAPS program you can edit the order, crop, rotate, etc. Save it as a PDF and you are done!
Conclusion
With this guide, we utilized the Rasberry Pi to set up a CUPS service to print files from various network devices by exposing our old USB printer to the network. Also by using the SANE service, we were able to expose the scanner of our printer to scan documents via the network. Awesome!
One last tip before we end. Since I am using an ink printer and I don’t use it often I want to prevent the ink cartridges from drying up. As cartridges are expensive to replace I want it to do a scheduled print job once a week to keep the ink from drying up.
For this, we will use a simple cronjob.
First, let’s download a test page file to our Raspberry pi.
wget -O test.png https://antanaitis.lt/wp-content/uploads/2022/08/Colour-Test-Page.png
Get the full printer name
lpstat -p -dFor me it was HP_Photosmart_C4200_series. We will use lp -d <printer> <file> to send the file test.png to the printer with a cronjob.
crontab -e
0 12 * * Sun lp -d HP_Photosmart_C4200_series test.png
Add the line like in my example but change the Printer name and if you use a different file specify the file.
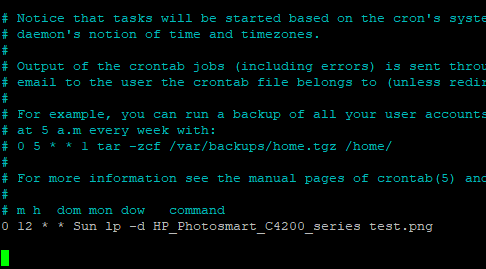
And that’s it based on the cronjob it will be executed weekly every Sunday at Noon. You can change the time and day to your preference.
The real end
Ok, that is the end of it. We have the printer and scanner set up. A simple job running to keep our ink cartridges from drying up. If you got this far and everything works. Good job. Enjoy breathing new life into your good old printer.
As always I hope this has helped you.


Recent Comments