
Saving on batteries by hardwiring devices
Ever since having kids also includes the fact that more and more smart devices like to be battery-powered for some sort of convenience which I never understood. For some devices, it can be understandable but for some which are usually placed in one spot and never moved, I never understood apart from the fact that you perhaps don’t have wires going to it or the device needs a separate controller instead.
Some pointers
So to continue with the idea of converting a battery power device to a hardwired one we need a power supply and it needs to be in line with providing the power that the batteries do. So we need to measure or calculate it. Using a multimeter works. Having the manual with specifications of the device also helps but there are formulas out there to get a pretty accurate understanding of what you need. Although I am no electrician. But I have used the Instructables simple guide to finding the correct voltages, currents, etc. For a device. You can see the article here
https://www.instructables.com/Easy-Battery-Hack-Using-a-DC-Power-Supply/
Having your device measured and grabbing an adapter for it we can start by disassembling it and finding the contact points or their respective wires. The best would be to get the correct polarity and solder the wires on it.
My solution
I have heating around my house with radiators. I wanted to have a smart controlled option where a room thermostat could shut off a radiator when the room reaches a certain temperature. So I got a pack of TRV (Thermostatic valves). Basically, they sit on the radiator valve and are able to open or close the valve to allow the hot water to circulate. This saves on heating for me during the winter as I don’t need to heat a room beyond what temperature it requires and each room can have its own target temperatures as well. Which is a nice-to-have feature. But the main issue I noticed is that the two AA batteries that live in the TRVs need to be replaced every 2-3 months during the heating season. It is annoying as usual, the radiators are not that easily reachable at least not in all rooms, and also the TRVs that I have a need to resync and do a test every time I swap the batteries out. Also if the batteries deplete during the night you might have no heating in the room until you wake up.
Now the solution is hardwiring them so let’s do that.
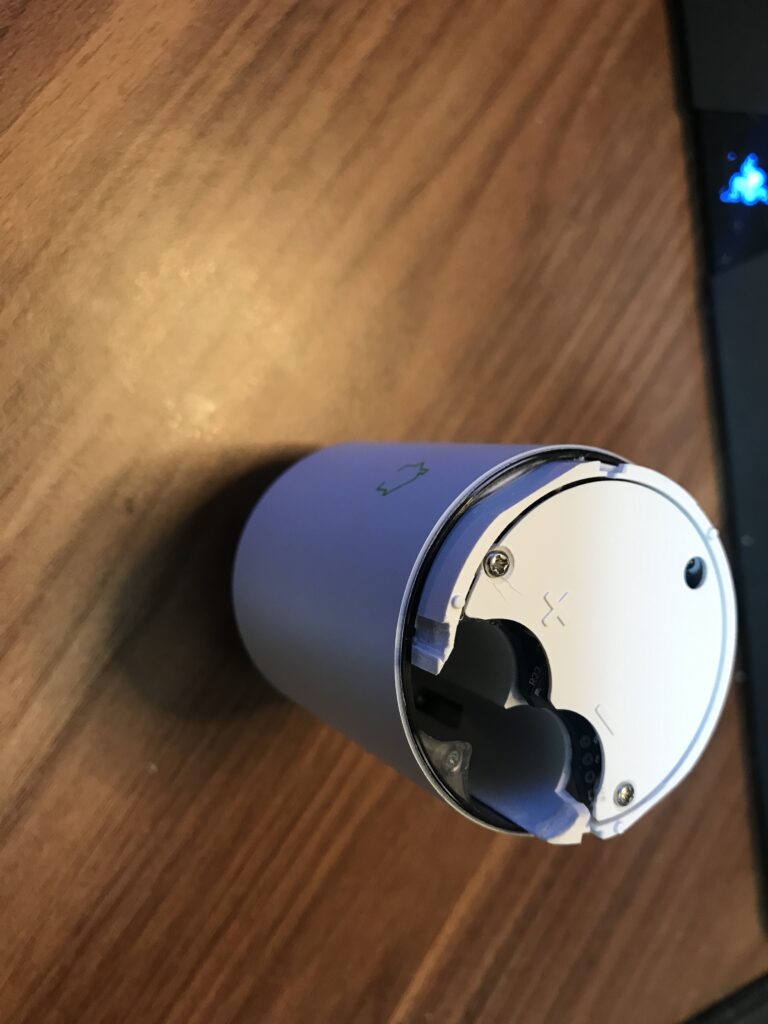
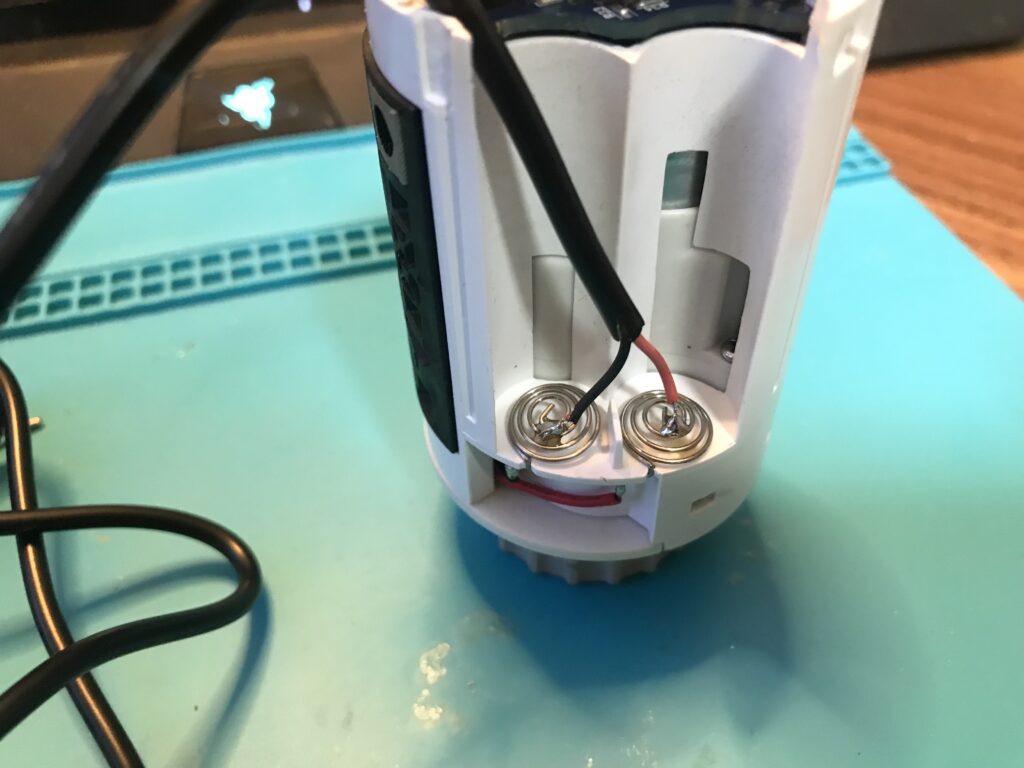
The TRV I use is a Zigbee standard based and as mentioned uses two batteries so we have two contacts at the bottom of it. The plastic ring casing around it slides off upwards from it to expose the contacts at the bottom.
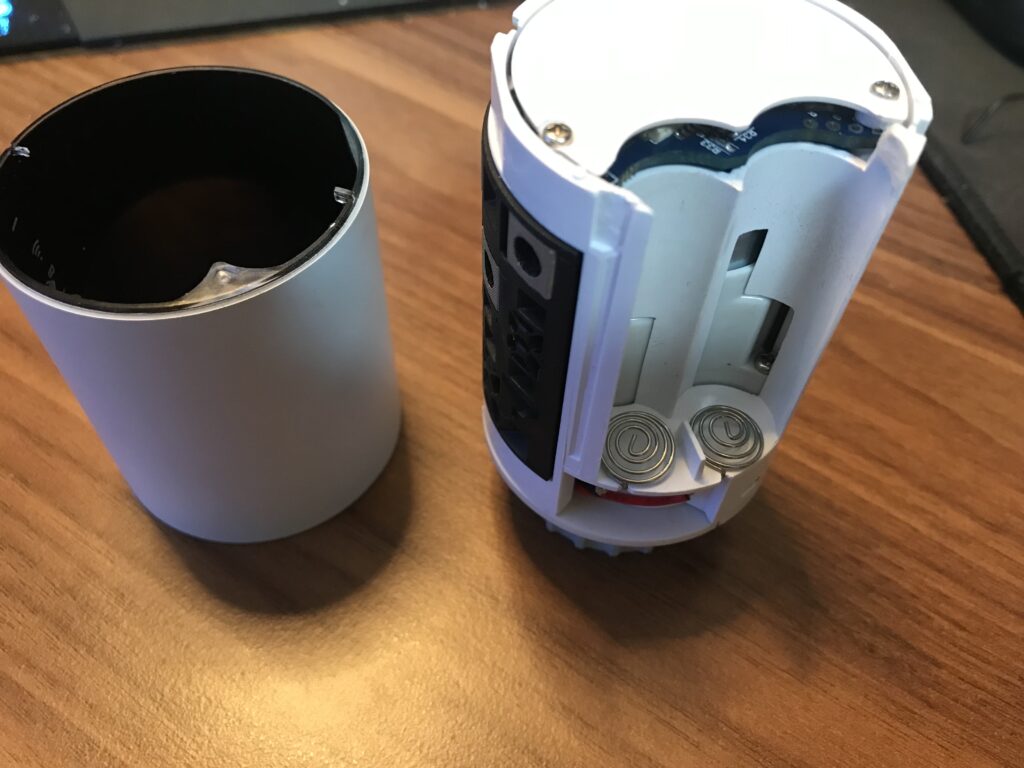
So there are a few options either to just solder the wires onto the contacts on the bottom of the wires underneath them. The easier option is the contacts as we can loom the wire out the top without any modification to the casing. As for the bottom wires, we would need to make a hole for the wires to go through either from the bottom or through the ring casing. But it is possible both ways. Making the hole at the bottom would allow for the battery cap on the top to be placed back too. But we will just do the contacts for now. Since this will be placed in a room where the radiator is not really visible it doesn’t matter how it looks.
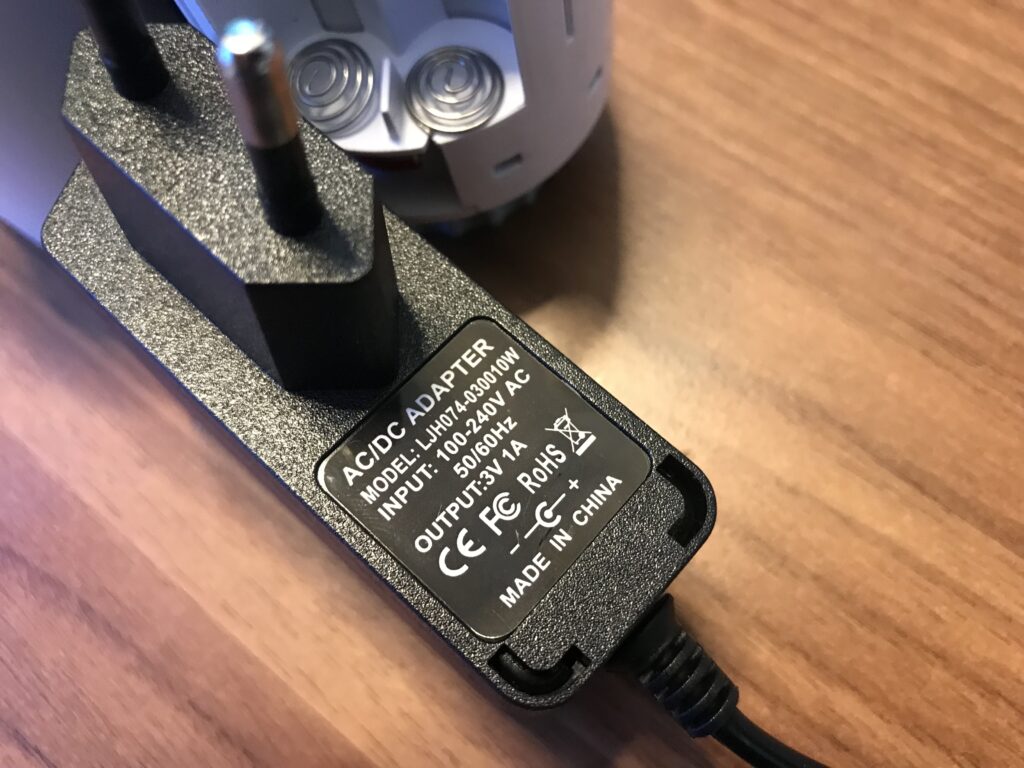
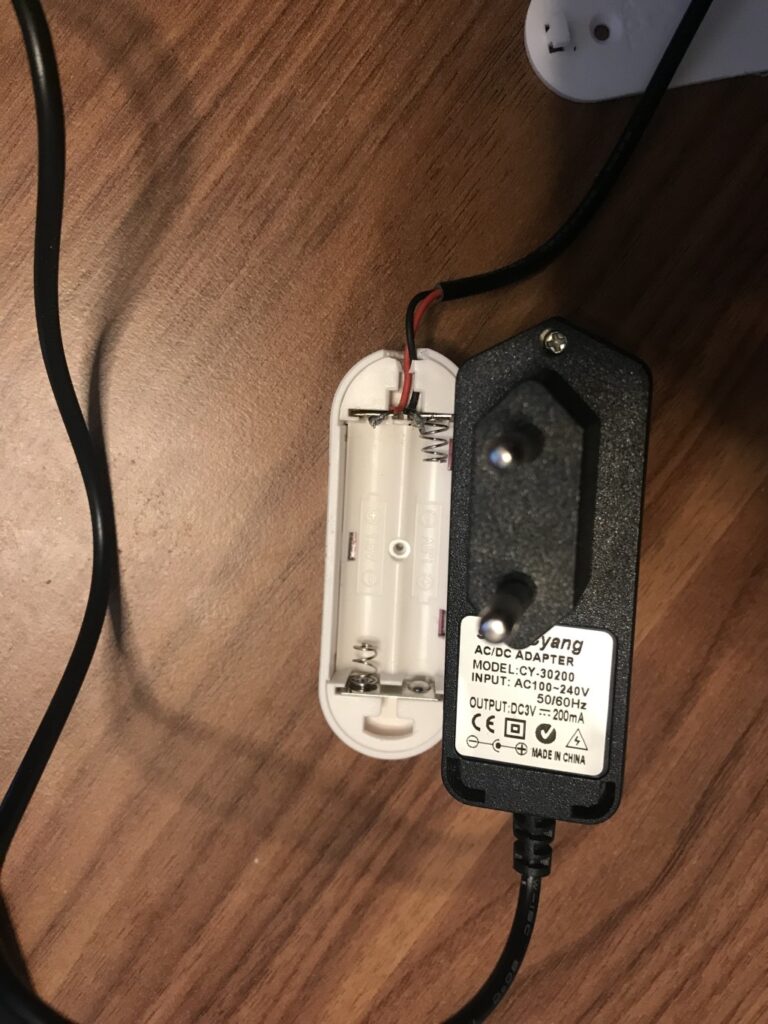
The adapter I have is a 3V 1A so it will be plenty in terms of supplying power to the TRV
We need to cut the end of the adapter to expose the contacts we will use to solder.
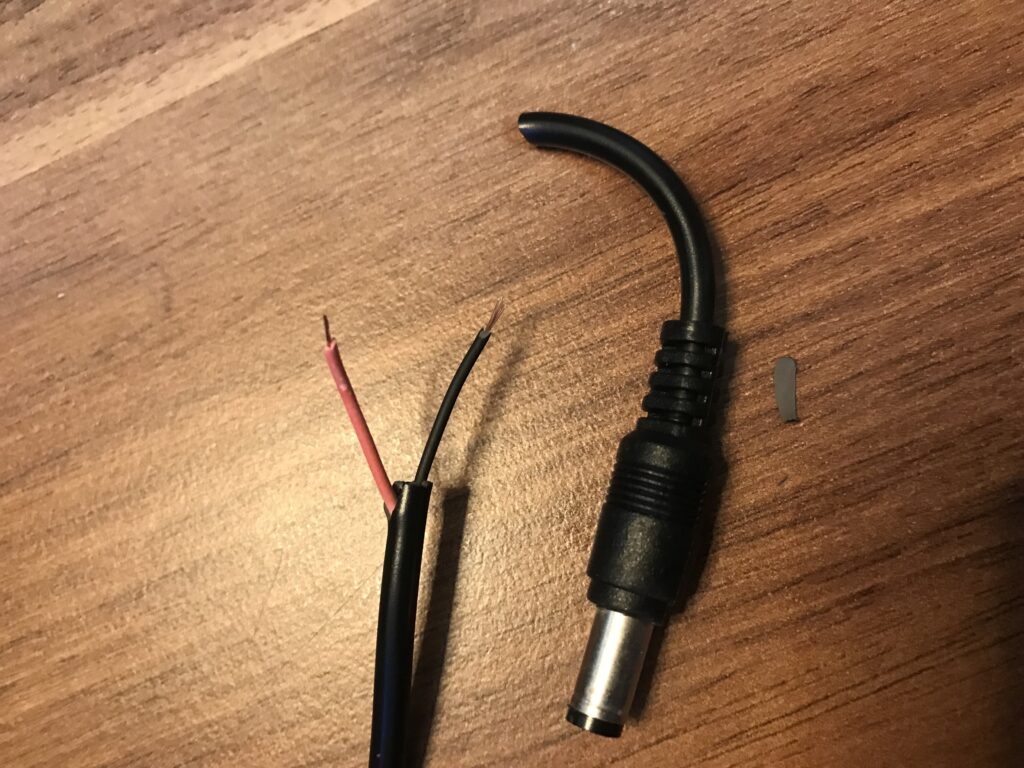
Best to use wire cutters that have the “shaving” function to expose the bare wiring. I just used a knife for this one.
Grab the soldering iron some flux and solder and based on the correct polarity attach the wires.
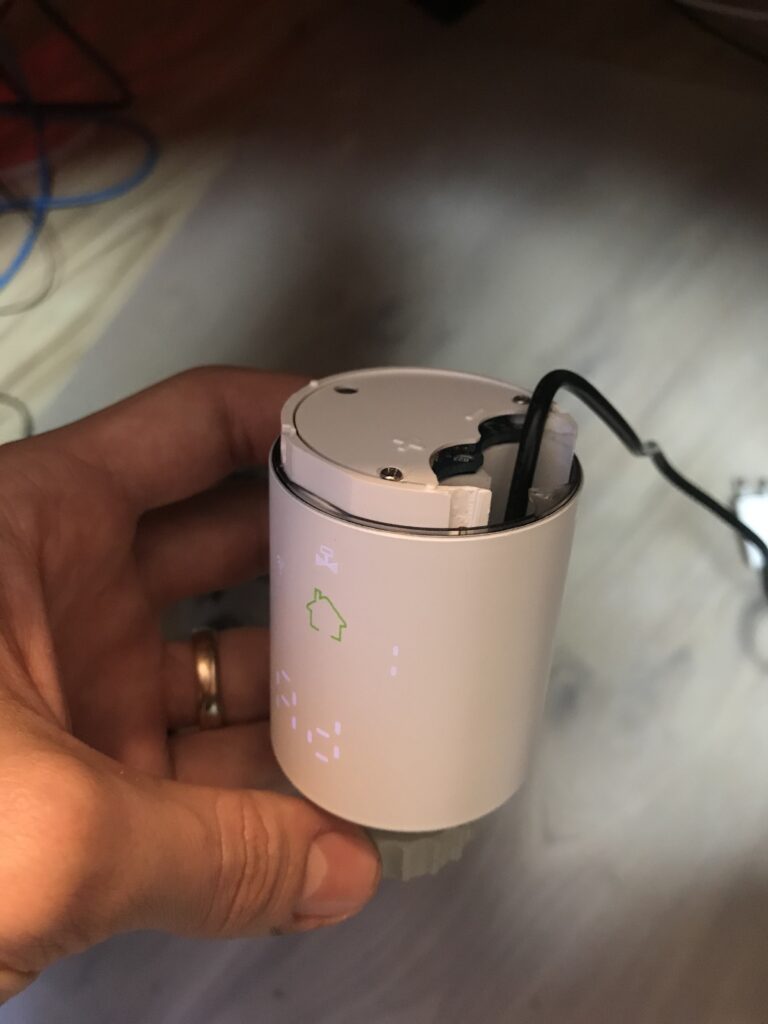
Once cooled I usually test it by plugging it in and seeing if it works. Since this is pretty simple once plugged in it immediately lights up so we can place it back on the radiator.
This is how it looks before being placed back to live forever.
That’s pretty much it. Your device is no longer dependent on batteries. Depending on the device I would try to fixate the cable maybe with some hot glue in case of tugging on the cable so that the connection doesn’t come loose.
Another example of such a case I made as well as I have a shed where the house alarm wiring is not wired out and I wanted some form of door open/close detection just in case. But all of the cheap smart little sensors are battery-powered or require to be wired to an alarm system or a controller. So I went for a simple Tuya sensor which knowing it will be in an unheated shed will drain the battery very fast due to cold temperatures not playing well with batteries so the solution is the same wiring an adapter as shown here.
Wrapping up
To conclude this is a pretty cheap way not only to remove the hassle of batteries. Even if using rechargeable ones you would need to swap them out. But some prefer these types of devices so there is no wrong answer here. Some would say that oh if the power goes out all the wired devices won’t work. True but in terms of devices like these even if they were battery-powered if my central heating system has no power these types of devices won’t have any use anyway since nothing in the house is working until power is restored. With electricity and similar work always take care to stay safe. Use precaution, always test that everything is firm and in good working condition.
As always I hope this has helped you out in some way.


I am looking to do something like this but using a solar panel. Do you have any thoughts on how to modify something like a Ring brand motion sensor that is usually battery powered to incorporate a solar panel (like for a Ring camera for example) to no longer need to replace the batteries? This could be by having the panel charge rechargeable batteries during the day, for example.