
Fixing Joycon drift on the Nintendo Switch
So this is not something new but for me was a rather cleaner way of performing a fix that I recently got. I own a most likely 1st generation Nintendo Switch from way back in the first year of release. Although not used that much I recently came across the dreaded drift. Although you are not moving in a game the joystick drift causes for example to move in a certain direction. Annoying! Let’s fix that.
Solutions
So the options come in a variety of ways. You can use a compressed air can and blow into the joystick to remove dust and that sometimes does work but I would assume it would be very temporary. Spraying isopropyl alcohol or contact cleaner may also alleviate some of the issues. Then there is replacing the actual joystick itself or even the whole Joycon. Which honestly is just too expensive. What we will be doing is the old paper trick to put some pressure on the housing of the stick. But instead of paper, we will use a 3D printed part for this.
My way
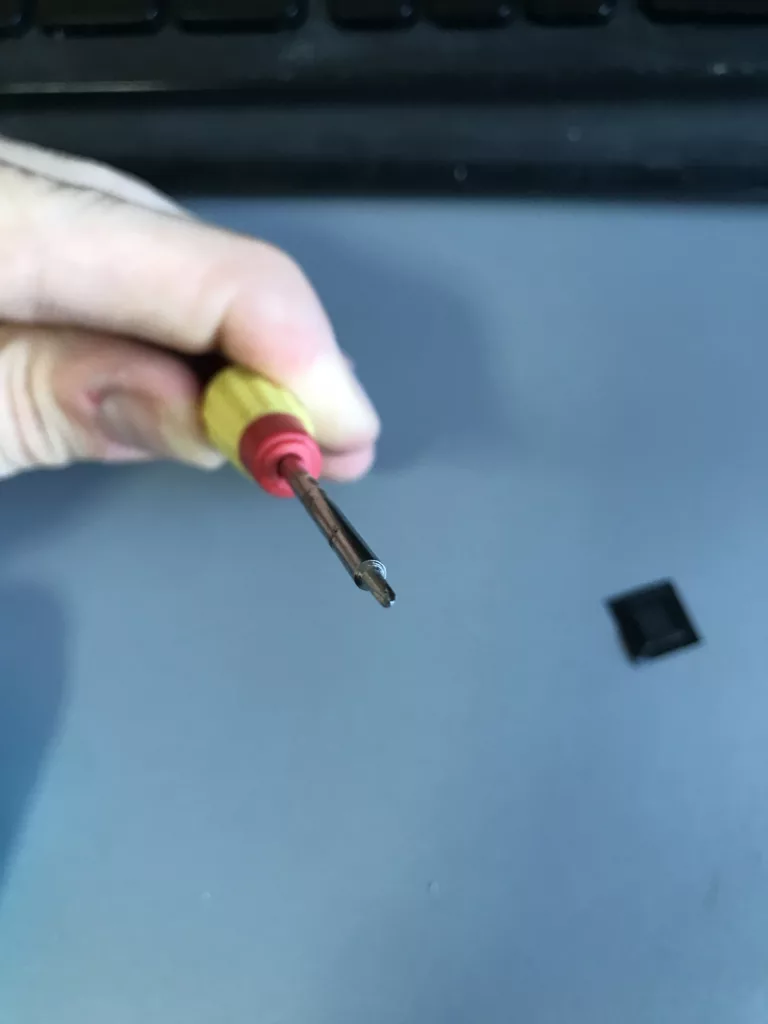
First, we need some tools:
00 Philips head driver
Y00 Tri-wing driver
Some plastic spudgers or tweezers
We need the 3D printed spacer part which we can download from here to print:
https://www.printables.com/model/172283-joy-con-drift-fix
Use the iFixit guide to get to the part where we will do the replacement:
https://www.ifixit.com/Guide/Joy-Con+Battery+Replacement/11363
Obviously, most of this can be achieved using plain paper folded up to apply pressure but I can’t pass an opportunity to do this with a 3D printer that is designed to fit so well. The odd requirement here is to have the tri-wing screwdriver which isn’t common in most toolkits.
Follow the iFixit guide. Take out the 4 screws. Remove the back panel carefully. Unhook the battery and lift it out.
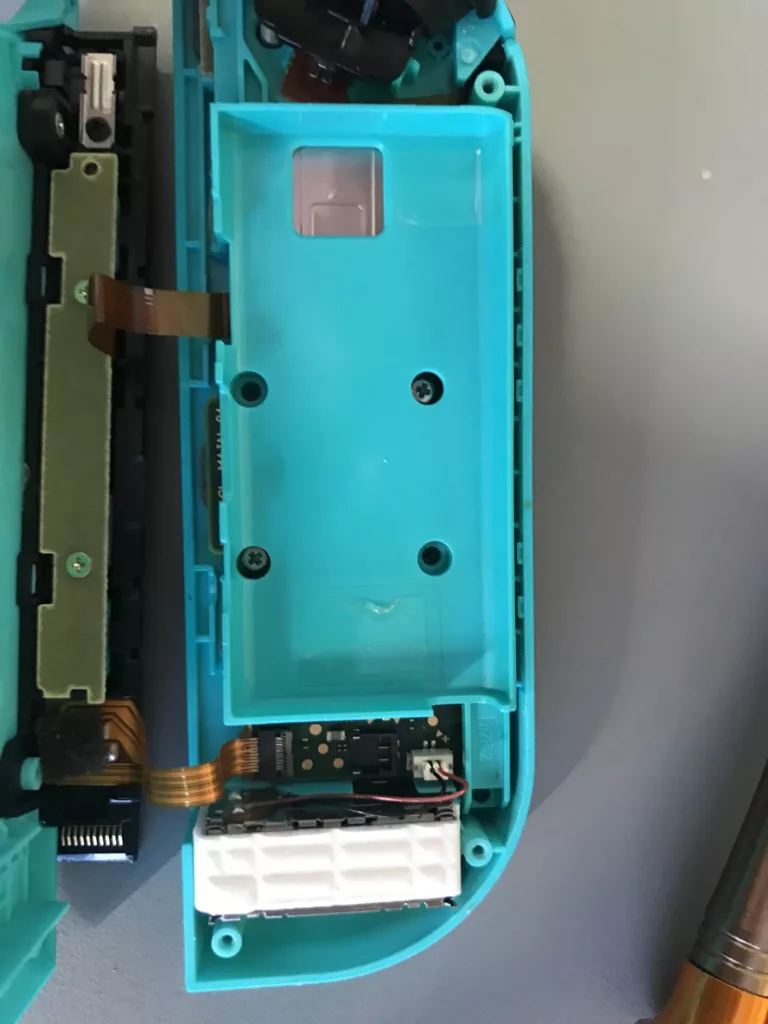
Once that is done remove the two screws that hold the plastic battery holder in place. You can then carefully lift it up. All we need to do is place the 3D-printed spacer in the square-shaped hole.
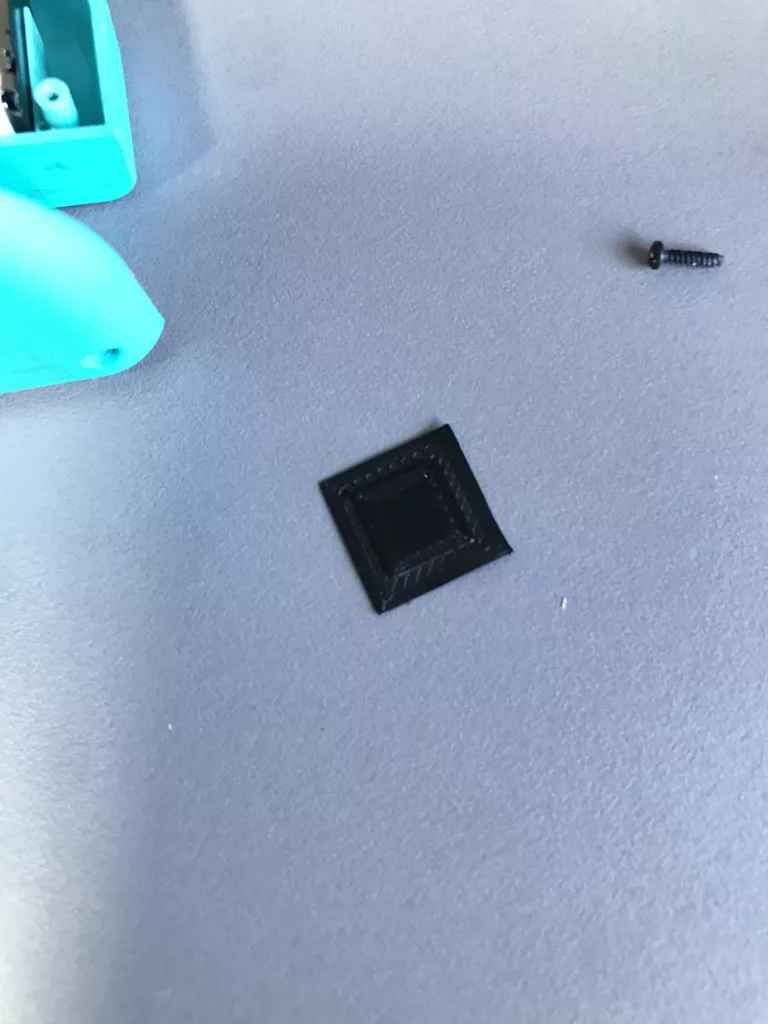
This is how it should look
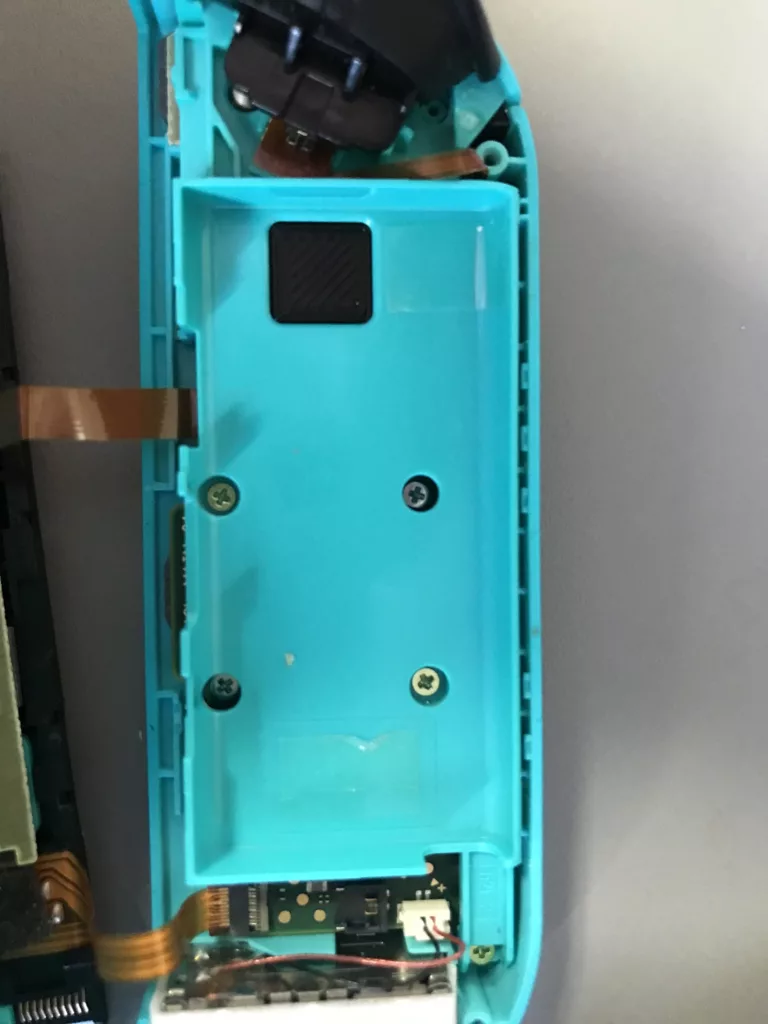
The square shape aligns and fits snugly in the hole. We can put back the two screws and go in reverse assembling the Joycon based on the iFixit guide. From here on out you are good to go. Test it out and you can do this for your other Joycon’s too.
Conclusion
In terms of fixing the issue this for me is a solid fix. I have applied this to 4 Joycon’s in total and all have not produced the drift problem since then. As mentioned this can be done in other ways like sticking some paper in between to put pressure. I chose to do it this way as it seemed a much cleaner way of going about it and there was more reassurance that the plastic piece would not dislodge or move. Take care with the disassembly, the ribbon cables and other parts are tightly packed and can be easily ripped off if caution is not taken. As always I hope this has helped you out.


Recent Comments