
iPhone 11 Camera glass replacement
Most phone users do use cases and screen protectors for their phones. But the cameras on the back seem to be getting bigger and protrude more from the casing. This leads to at times dropping your phone where it hits a certain angle or let’s say a rocky surface and you end up with a cracked camera glass. Now this can go beyond and you may even damage the camera lens itself which makes the repair a whole lot worse. But for the glass itself, I found myself being able to do it in about 20 minutes.
The repair
This post will most likely be a short one. Basically, my wife’s phone got dropped and one of the glasses on the lens cracked. Camera functionality was not affected but you could see some smearing when attempting to get a focused photo. Searching around yielded me that there are 3rd party replacement glasses available for the lenses. Similar to the ones for example on iFixit:
https://eustore.ifixit.com/products/iphone-11-rear-camera-lens-covers
I personally followed the guide here and it seemed to work best for my case:

I do not doubt the methods shared here can work for any other iPhone.
Besides the glass replacement we are going to need some tools:
Exacto knife
Plastic spudgers
Heat gun or Hair dryer (use low heat to not overheat or damage the components)
Tweezers
Optional:
Isopropyl alcohol
Q-tips
Anti-slip silicone mat
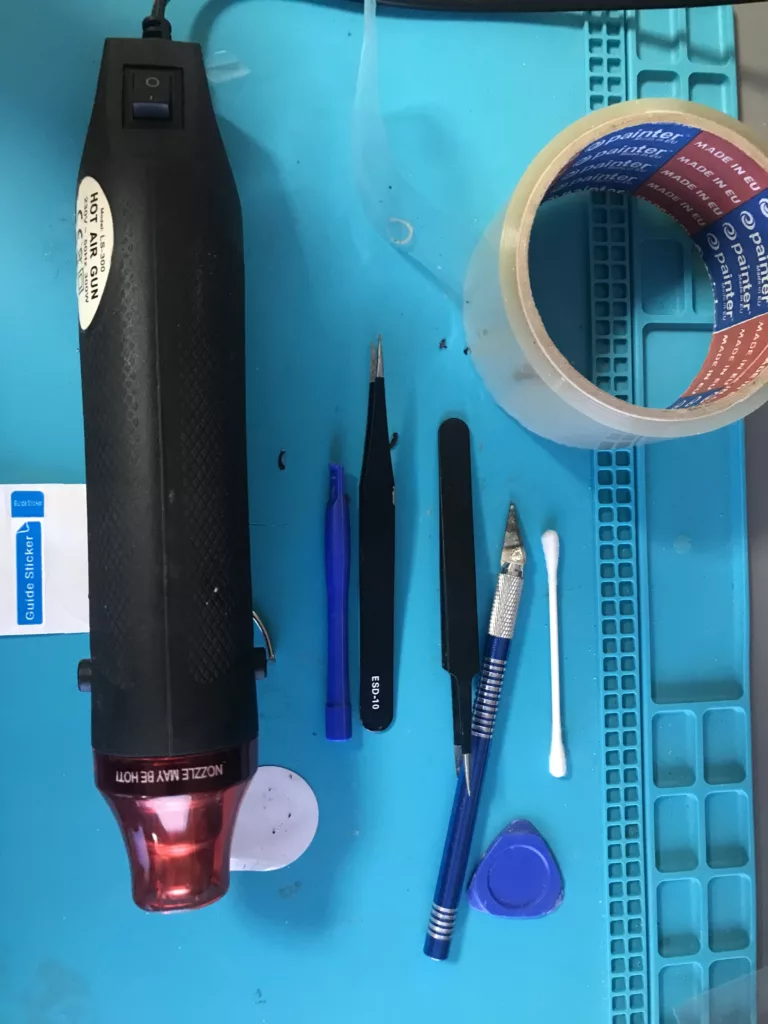
The optional ones are nice to have but not required. The alcohol and Q-tips can be used to clean and dissolve the leftover adhesive. The mat is just for ease of use during repairs.
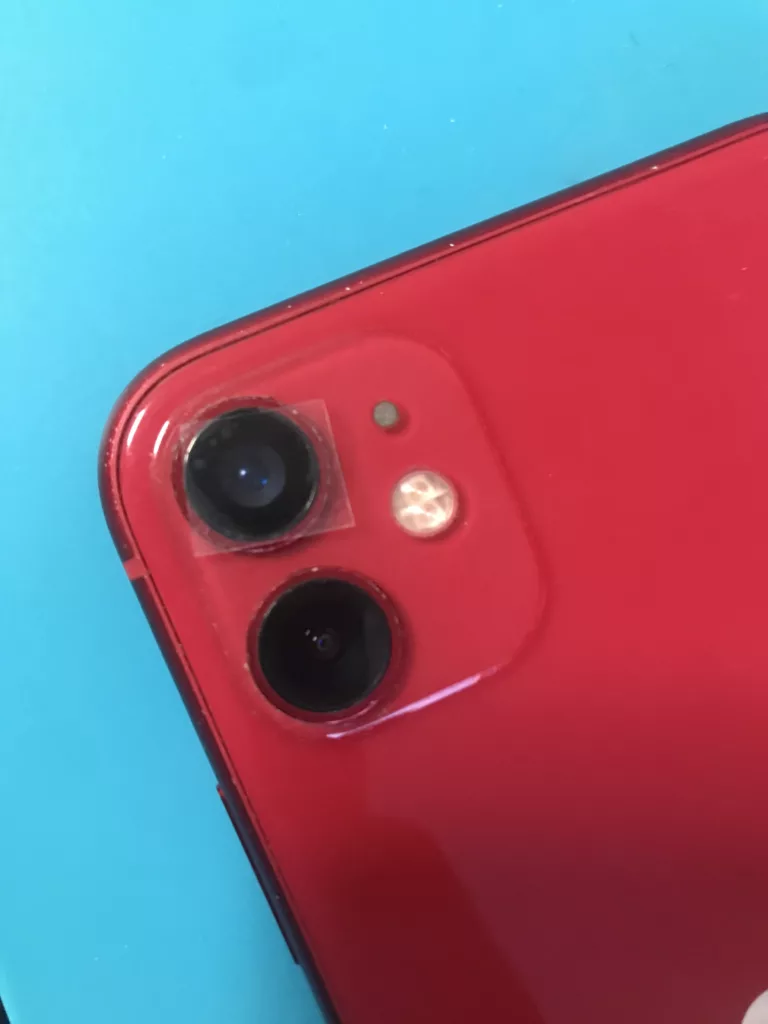
The phone had the top glass cracked as shown:
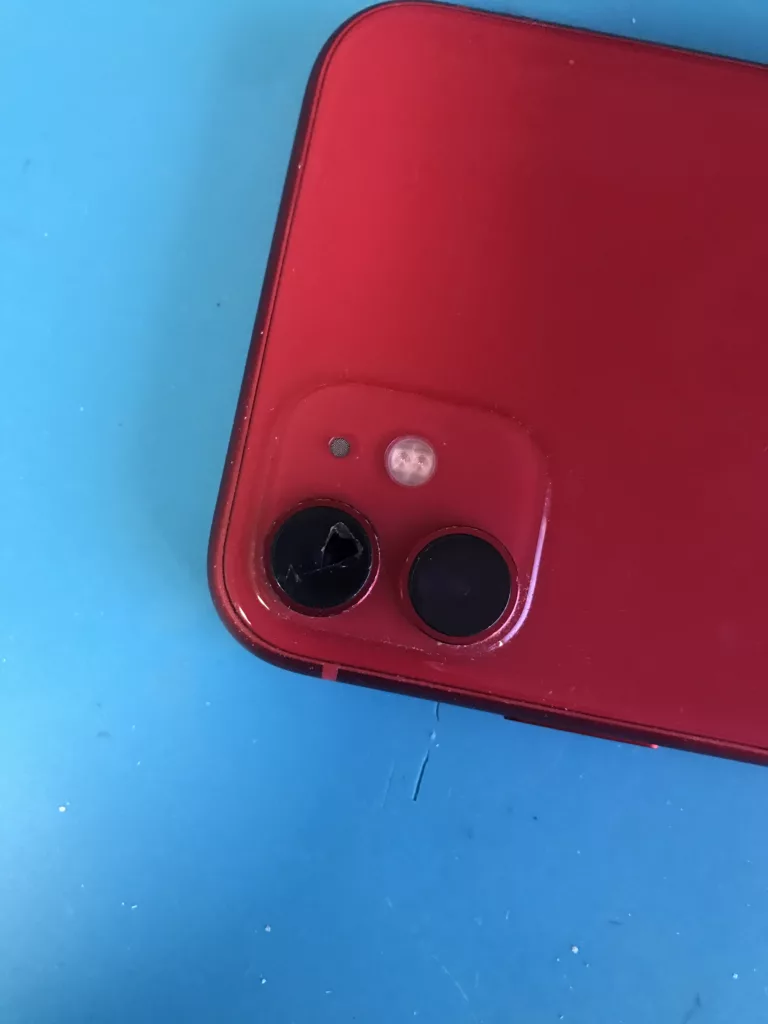
My first thing was to apply some heat so that I could start prying away the glass shards. Then applying moderate pressure insert one end of the tweezer in the hole of the glass and start to lift to see if anything will budge. Since the heat was applied the glass started to lift a bit but also broke into many pieces.
Applied a little more heat and tried the plastic spudgers to get some of the glass off. This worked but most of the glass that was left hung around the very edge which has all the adhesive. There are tiny glass shards pretty much everywhere so as the video portrayed I used some scotch tape to pick up the tiny pieces without damaging the actual lens.
Using different places of the tape to keep re-applying to get as much as possible. The very edge of the glass is the longest it took since you have to re-heat a few times and gently pry on the edges to get the remaining glass out. Take your time don’t force it as it’s easy to slip and mess something else up.
Once all the glass is removed there is still some adhesive left over which would impede us in mounting the new glass firmly since it may not sit flush. So I used the Q-tips and some isopropyl alcohol and applied a slight amount on the edges to loosen it. Using the tweezers and exacto knife I scrapped off the adhesive. Then just applied some more tape to pick up any remaining foreign objects.
At this point, I got the replacement glass and it comes with double-sided adhesive which is separated from the glass. Now you can go two ways about this. Take the ring-shaped adhesive and apply it directly to the camera lens hole or apply it on the new glass replacement and then stick the whole thing back in. I went with the former.
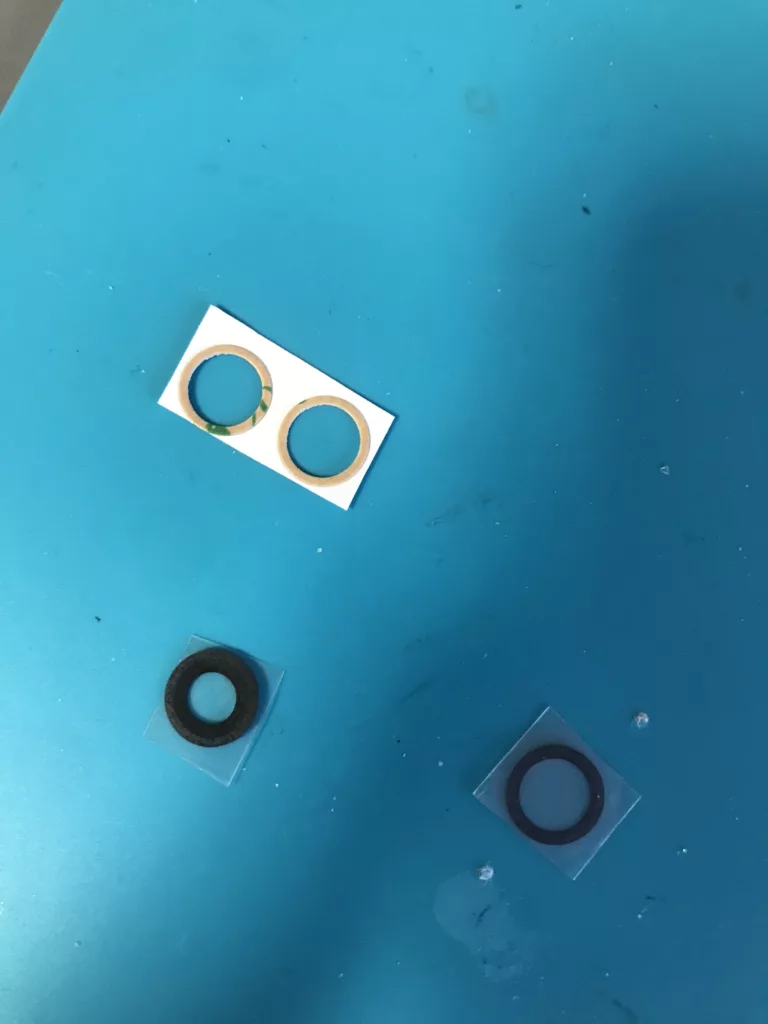
Do keep in mind and take note that one side of the glass is slightly greyish while the other side is completely black. The black side will be the outer facing side and we will apply the adhesive to the greyish inside.
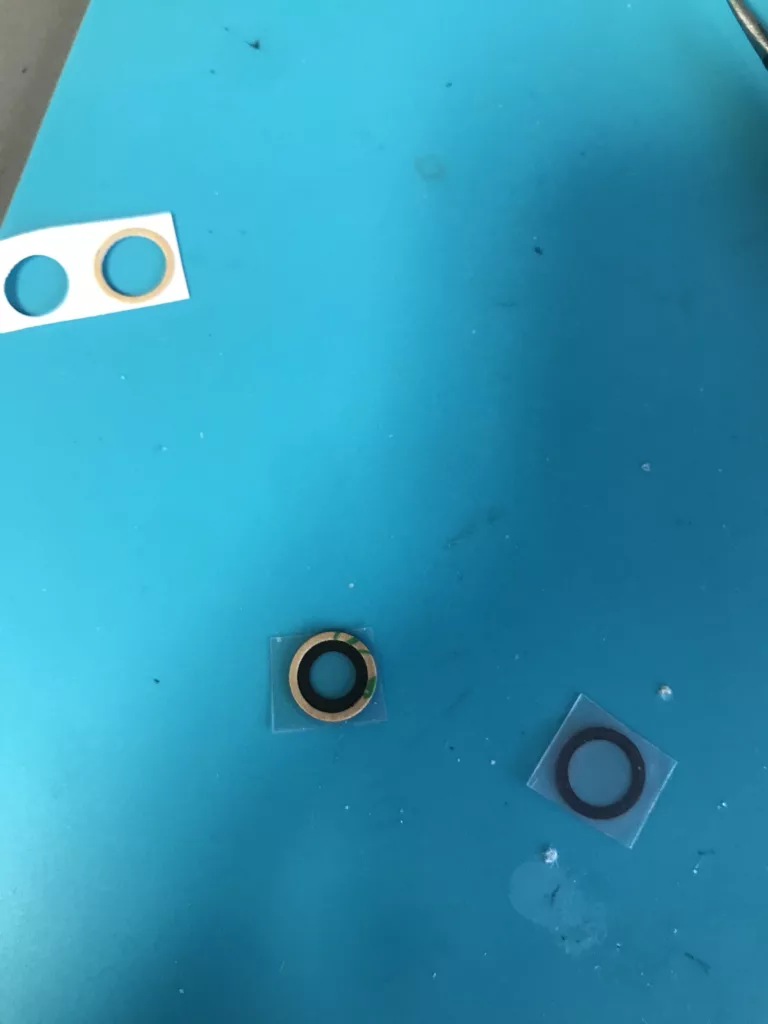
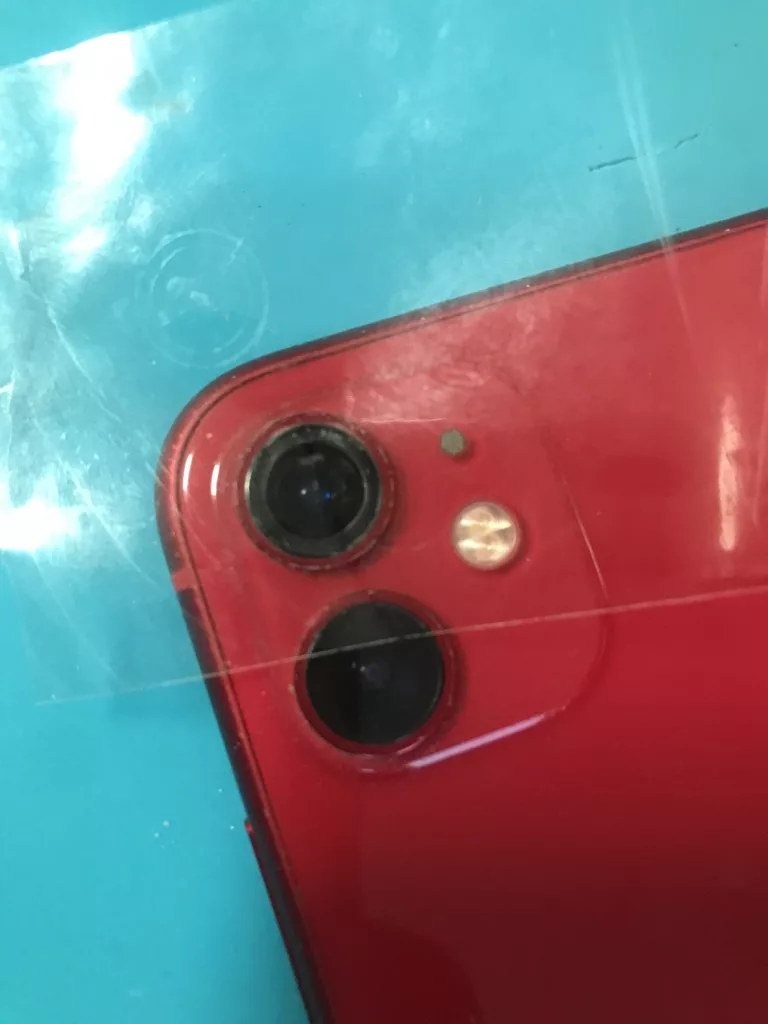
Just use the exacto knife and tweezers to take the adhesive off the pad. Place it carefully around the edge of the glass. Once ready to apply just peel the other side and place it flush and center on the camera lens hole. Try to not spend time too much fiddling with it as you will get dust and fingerprints on it. You want it to be as clean as possible as we don’t want to apply it and see that the photos are all smudged up and go back to removing it again.
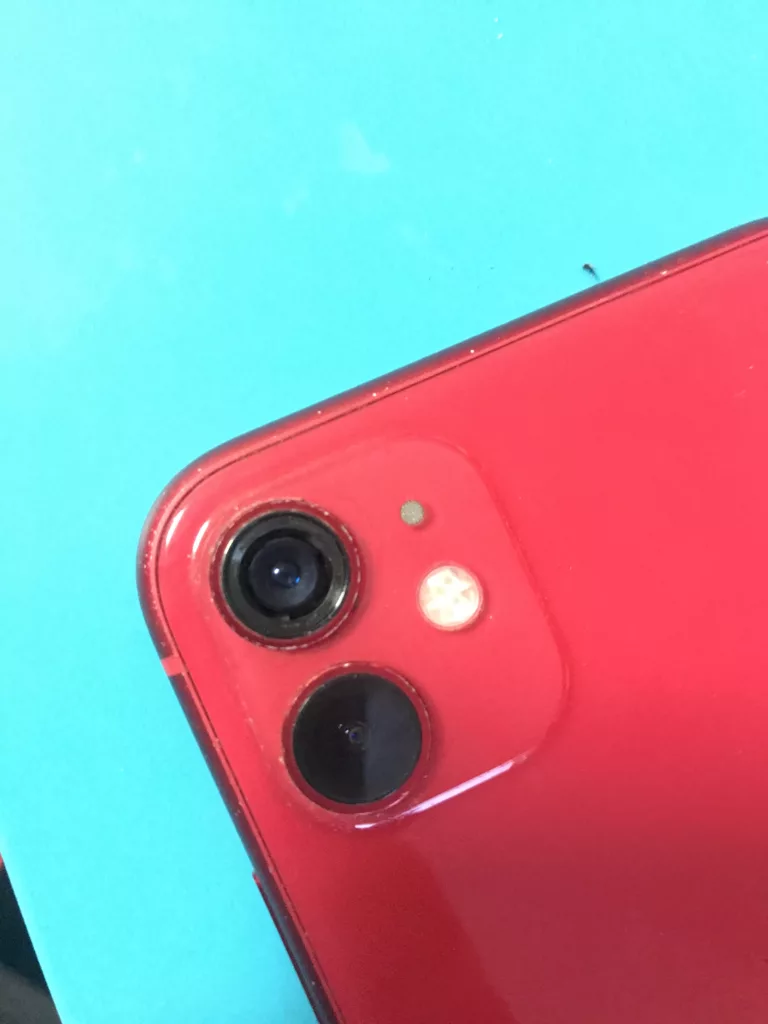
If you cleaned out the area. It goes in like a glove and sits nicely. After applying I put some more heat on it just to give the adhesive some stickiness. Once done open the camera app test out some photos and if everything went according to plan you should be good to go.
Conclusion
The replacement around me was about 40 euros if I were to take it to a repair shop. Of course by the tools required if you don’t have any lying around you could say the 40 is not a lot. But if you like to fix or tinker with stuff most likely you have the tools necessary to perform the job. Since the part itself costs around 6 euros, the time it takes to do this is not that long. With a fully working phone again you can continue snapping photos to your heart’s desire.
As always I hope this helped you out.

Recent Comments